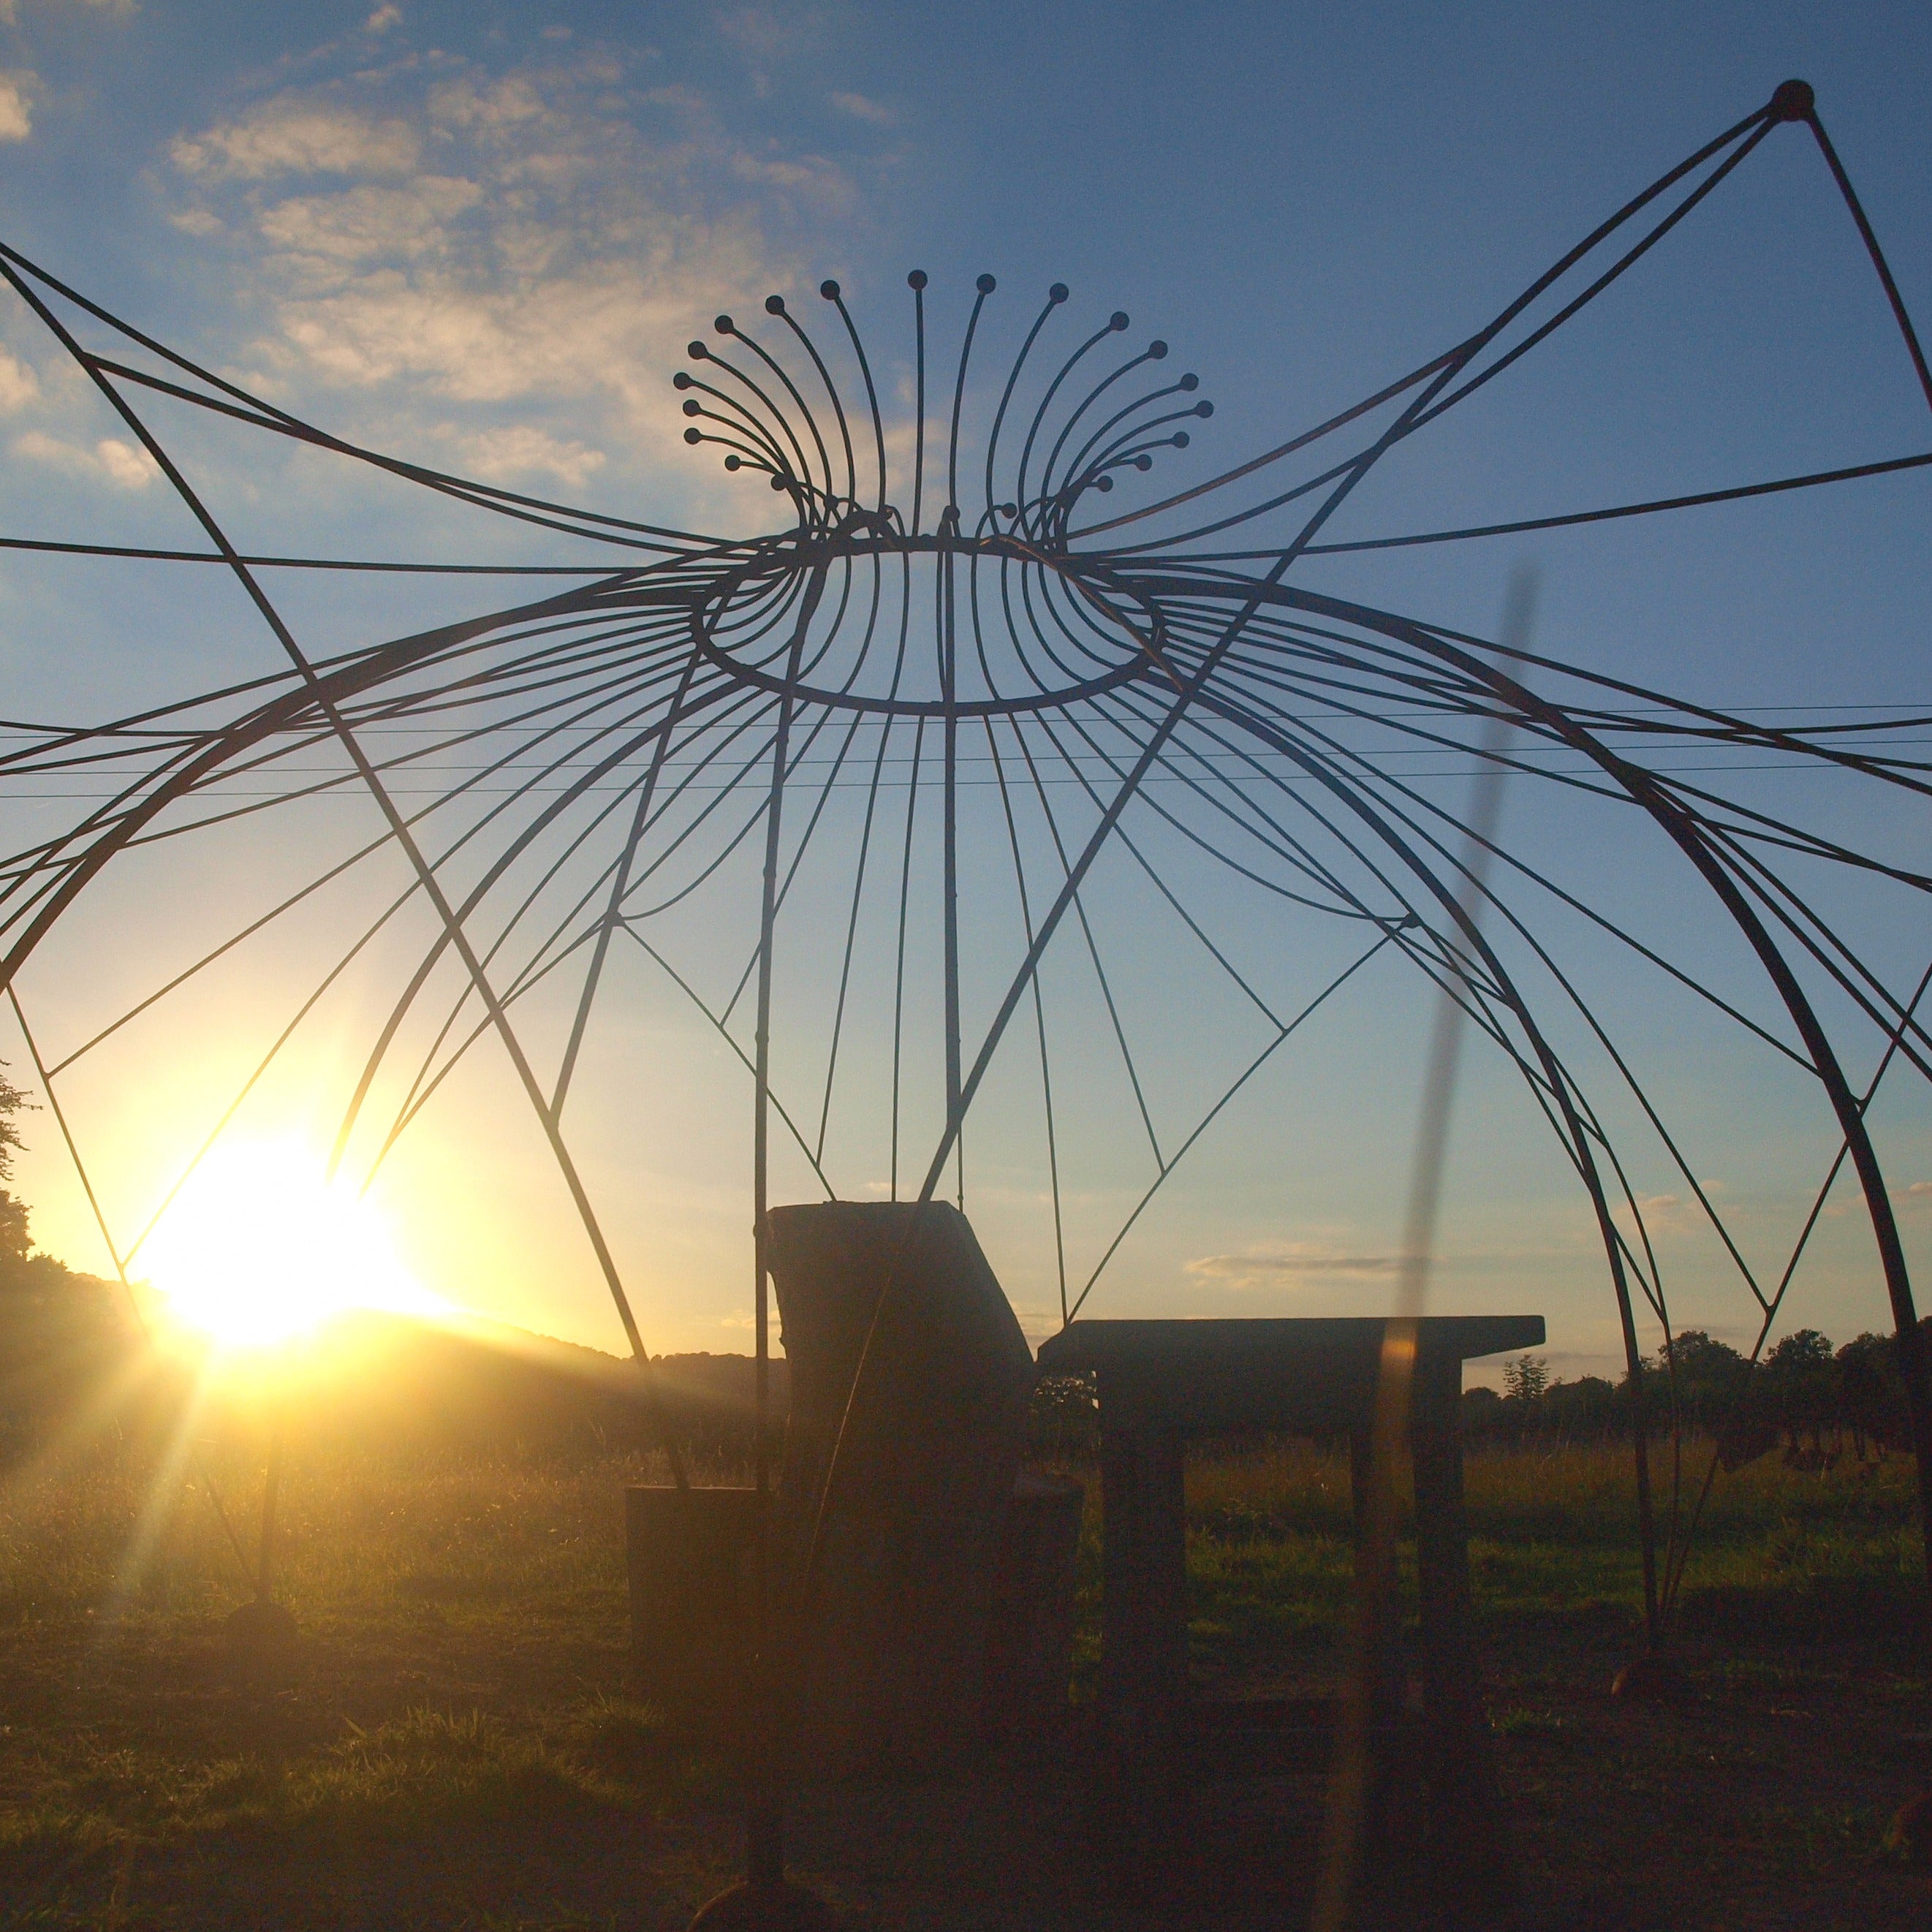
Victorian-style dome memorial
Alan Ross is an artist and sculptor in steel, who has used Metalcraft tools to complement his welding and engineering skills to create amazing sculptures and commissions.
He is a regular contributor to the mig-welding.co.uk forum and displays his work on the highly-inspirational artinsteel.co.uk website.
By Alan Ross
I was asked to do my biggest single job yet, a 4.5m dome as a memorial to a gentleman's wife, where I think he planned play his saxophone in and think about good times.
I was very flattered and almost turned the job down because of the scale of it, but we met up and talked about it, and I was on a mission.
I was looking for a shape inspired by nature. Yet again I turned to Ernst Haeckel and his drawings of Radiolarians, I also had a look at the work of Santiago Calatrava, the architect.
Amazing shearing capacity
To get my idea across I made a small maquette out of 3mm welding rods. using my strip worker (pic maquette). And realised that I would need to scale up my tooling. So once given the go ahead I bought an XL5+ Powerbender. Once installed on the bench and after a fiddle, I found the shearing capacity was tremendous. I was chopping off dozens of bits of 13mm bar while making this structure with no problems. Rolling the lengths of bar was hard work but straightforward, the curves came out flat, with no twisting and were very predictable.
As someone who is used to tools making claims about their power/capacities that are completely unrealistic, it ws a great relief to find something that does everything it says on the box – and it did not feel stretched even at the top end of the range. In truth, this project would not have been possible for me to achieve on my own without the Powerbender.
Bend and unbend curves easily
I decided to make the dome modular for transport and access reasons, with vertical ribs made of edge bent 30x5mm strip bolted together in pairs to make a hexagonal structure. I used the edge bending tool for this part of the job I was amazed how easy it was to edge bend the strip and that it came out flat. (pic dodome 002)
Initially, the 3m long ribs did not all come out exactly the same due to material variations, so after panicking I realised that I could rework them easily, both to deepen and unbend the curves. I had tried to contract this part of the job out twice to local engineers, both of whom pulled a face and said how difficult it is to do with a powered ring roller. In the photo you can see how I used dome-headed coach bolts. When we were satisfied with it, I lopped the other ends off the bolts and plug welded them on to give the impression of large Victorian style rivets. (pic domeframe 006)
I then assembled the main frame sections with feet made from 200mm steel half balls. (pic domeframe 005).The next stage was to roll up the infill bars out of 13mm mild steel bar. This would make a great routine for the local gym as it was a great upper body workout. (pic domeindoors) A close fit, it was touching the roof trusses on both sides. After this I rolled and fitted 7 sets of ribs to each section, to fill the whole structure.
The next stage was to get it out of my building, with just 20mm clearance on the doors, before reassembling it. Reassembly was actually a straightforward process and took two of us an afternoon. The top was made in the same style in 13mm mild steel with 60mm balls to finish the ends of the bars and give a natural look to the whole thing. I treated it with Ammonium Chloride to accelerate the rusting process. (pic domesmallpic) (pic domefinished70).
Overall, it was a great project to get me used to a new tool. I have been really surprised by the scale it is able to work at, both large and small, and I am still able to make delicate sculptures out of 3mm bar as well the bigger sections.


